Symantec Blue Coat ProxySG Tiny Java Issue
I recently acquired a shiny brand spanking new High Spec Dell XPS 13 4K UHD laptop for my Cyber Vigilance duties, with a super-fast Intel Core i7 Generation 8 CPU, 16GB RAM, PCIe SSD drive etc. I am very happy with the laptop as it’s small enough to be very portable, quiet enough not to wake the wife or kids when I’m staying up late working on my home lab, and the screen is sensational!
I also have various Intel NUC computers, this includes a Synology iSCSI NAS and a pair of Zyxel managed switches that are running a VMware lab with vSphere with multiple ESXi hosts, and also a pair running Windows Server 2016 Hyper-V with SCVMM in order to provide a platform for self-study and to keep up to date with my various certifications. One of these is the Blue Coat ProxySG Administrator certification that I recently passed. (You’ll have to bear with me – I’m setting the scene here!)
One of the many benefits of Cyber Vigilance being a Symantec Partner is access to various virtual appliances. Recently I deployed the ProxySG SWG VA to my vSphere environment. All went well with the initial install. I proceeded to connect to the web management console and run Java using the ‘Launcher’ link…… I presented with the following:

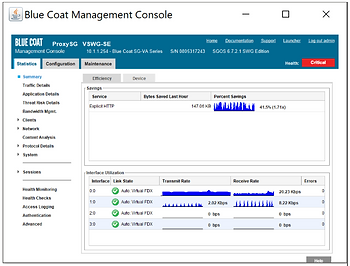
Hmmm…. As you can see (or can’t, which is the point of this blog), this is almost impossible to read (even though I know what it says). I then clicked on ‘Continue’ and got this:

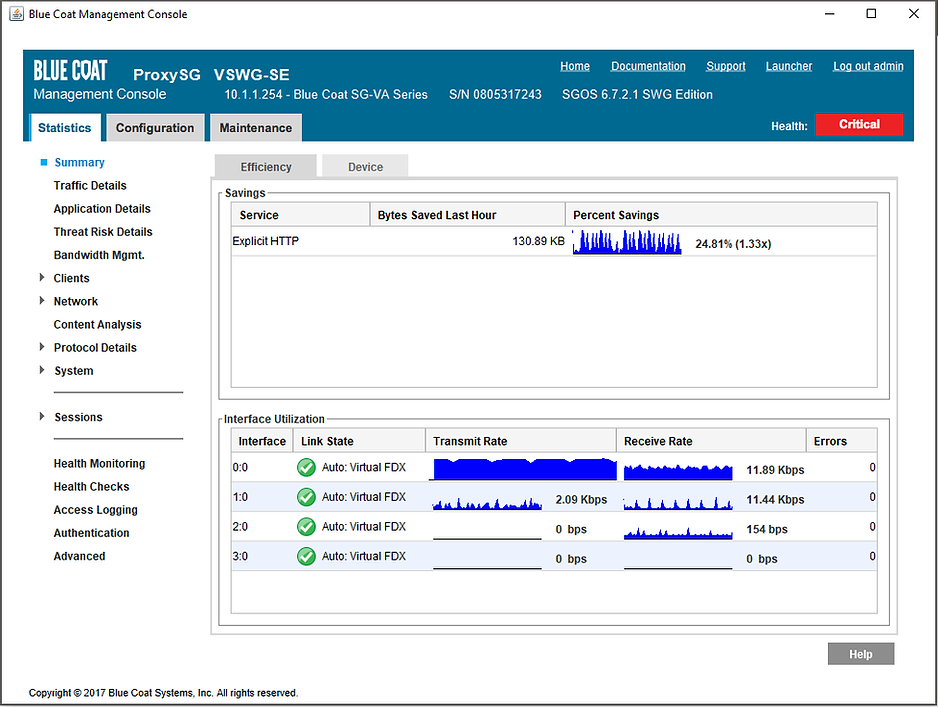
I logged on:

Now, I have very good eye-sight but even this is far too small for me to even start modifying the configuration and or setting up a policy using VPM! So, after a bit of digging I found the following solution for my Windows 10 Machine:
1. Find java.exe on your machine local machine.
2. Right click and select -> Properties
3. Go to Compatibility tab
4. Check Override high DPI scaling behaviour
5. Select System in the Scaling performed by drop down box
After the Creators Update of Windows 10, it is slightly different with an additional step (4):
1. Find java.exe on your machine local machine.2. Right click -> Properties
3. Go to Compatibility tab
4. Select Change High DPI scaling override
5. Check Override high DPI scaling behaviour
6. Select System in the Scaling performed by drop down box
I followed the above, still no joy. I then did some more digging and was informed that I need to change the javaw.exe in order to get this to work. Tried this but same result…. I thought, I know, I’ll just RDP to another older server and use Java from within that OS. Unfortunately, as Windows 10 scales the RDP session, I had the exact same issue! D'oh. In the end I had to resort to using the web console on my virtual machine or my old laptop in order to connect to the VPM, just so I could create a basic policy for my lab!! Then a few other things came along, and I had to put this on hold until I had some more time available.
So, a few days later, once I got the chance to look at this again with fresh set of eyes, I found an obscure reference to another java executable called jp2launcher.exe (yes, I know, it’s obvious now) and performed the above setting changes to the DPI scaling and viola – normal service resumed!

I now have a normal size Java applet that works without me having to lose my 4K native screen resolution and don’t have to open any web consoles within VMware.
Now I can get back to creating that advanced policy…….
Get safer now
See how Managed Threat Detection can make a difference for you. No obligation free trial.
©2025 Cyber Vigilance
Powered by Disruptive
Naggs Stable, Old Portsmouth Road, Guildford, Surrey, England, GU3 1LP


.png)